
Are you a beginner looking to create stunning infographics in Genially? If yes, this blog is for you! This step-by-step guide will walk you through the process of creating a visually captivating infographic that effectively communicates your message.
Step 1: Start with a Plan
The first step in creating any great infographic is to plan out the content you want to include. Determine what your main message is and what data or statistics you will use to support it. Take some time to organize your ideas and outline your infographic’s structure.
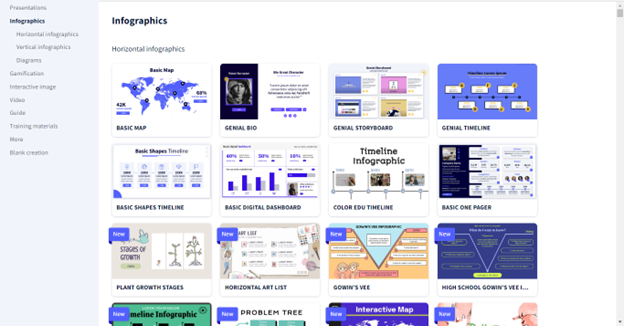
Step 2: Choose a Template
Genially has a vast library of infographic templates to choose from. Browse through the templates and select one that matches the style and message of your infographic. You can always customize the template to fit your needs.
Step 3: Add and Format Text
Once you have chosen a template, it’s time to add your content. Genially allows you to add text boxes and format them to suit your message. Use headlines, subheadings, and bullet points to make your content more digestible and easy to read.
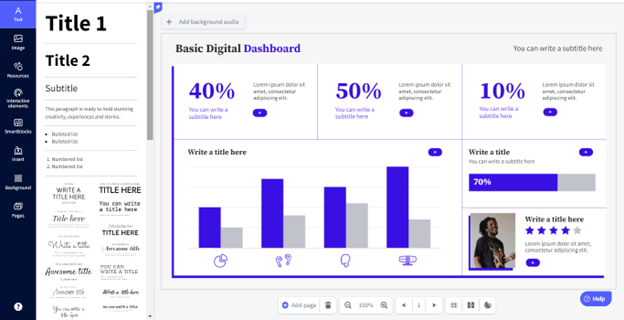
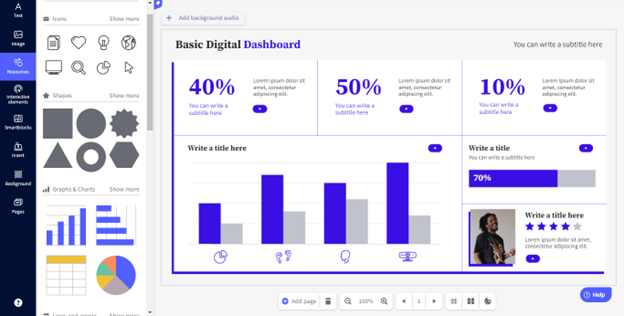
Step 4: Add Visual Elements
Infographics are all about visuals, so it’s crucial to add appropriate visual elements to your Genially. You can choose from a variety of icons, images, charts, graphs, and other visual elements to support your message. Use Genially’s design tools to customize the visuals and make them more engaging.
Step 5: Choose a Color Scheme
Color is an essential part of any infographic. Select a color scheme that matches your message and visuals. Genially provides a variety of pre-designed color palettes to choose from, or you can create your own custom color scheme.

Step 6: Add Interactive Elements
Infographics in Genially can include interactive elements to enhance the user experience. Consider adding animations, hover effects, or other interactive elements to engage your audience and make your infographic more memorable.
Final Steps and Reminders
Before sharing your infographic with your audience, it’s important to test it out to ensure all interactive elements work correctly and that the design flows well. Revise as necessary to ensure your infographic effectively communicates your message.
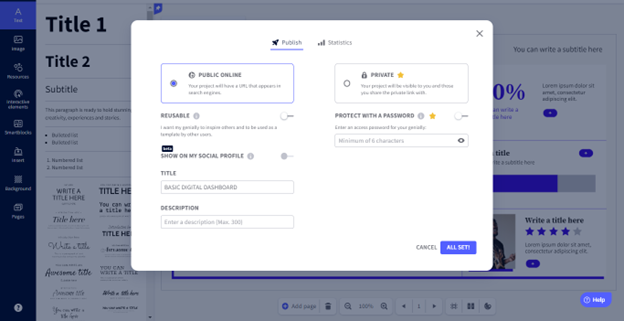
Finally, it’s time to share your infographic with your audience. You can embed it on your website, share it on social media, or include it in presentations. Get creative and think of new ways to promote your infographic to reach a broader audience.
Now that you have a step-by-step guide on creating infographics in Genially, go forth and create! With a little planning, creativity, and the right tools, you can make visually stunning infographics that captivate your audience and effectively communicate your message.
READ: How to Tell Compelling Stories with Vyond: A Guide for Small Businesses