Introduction
Unleash the power of AI with Canva’s AI-powered design tools! Join us as we venture through a magical journey and explore how these cutting-edge tools make creating visuals easier than ever before. Our blog will show you just what wonders can be unlocked with a few clicks—so don’t miss out on this amazing experience!
Canva has rolled out multiple features, for this blog we will be exploring the Magic Edit, Magic, Magic Design, Magic Write, and Magic Eraser.
The Magic Edit
Say goodbye to the hassle of manually editing your images with Canva’s Magic Edit feature. This groundbreaking tool allows you to add, replace, or modify photos with the power of artificial intelligence, making it easier than ever to achieve your desired look for your visuals.
Ready to give it a try? Here’s a step-by-step guide on how to use Canva’s Magic Edit feature:
- Once you’re in a blank canvas. Start by uploading your image to the Canva editor. You can do this by dragging and dropping your file onto the canvas or by clicking “Upload files” to select a file from your device. Alternatively, browse Canva’s vast library of free templates and stock photos for inspiration.
- Once you’ve selected the image you want to edit, click on it and select “Edit photo” from the toolbar. Then, choose “Magic Edit” to activate the AI-powered editing tool.
- Using your cursor or finger, simply brush over the part of the image you want to modify. Adjust the brush size by dragging the slider in the bottom left corner to make sure you’re targeting the right area.
- In the text box, describe what you’d like to add or replace in the brushed area. Get creative! Maybe you want to add a replace the forest in the background with a beach, the possibilities are limitless. Then, click “Generate” and let the Magic Edit feature work its magic.
- After a few moments, your edited image will be ready. Canva will generate four results for you. Choose the one you like the most or choose them all. If you’re not satisfied with the result, click “Reset brushing” to start over. If you love what you see, click “Done” to finalize your masterpiece.
- The remaining step is for you to click the “Share” button and download the image.
Attached below is a sample of the result of Magic Edit feature of Canva. We generated a beach with palm trees to change the rainforest in the background of the man.


The Magic Design
Introducing Canva’s Magic Design – the tool that can turn your vision for a presentation into a reality with just a few clicks! Say goodbye to the stress of creating slides and crafting content, and hello to the ease and efficiency of artificial intelligence.
Ready to see it in action? Here’s a step-by-step guide on how to use Canva’s Magic Design feature:
- First things first – head to Canva and click “Create a design”. From there, select “Presentations” to open the editor.
- On the bottom right corner of the editor, you’ll see the Canva Assistant button.
- Type in “Magic Design” or select it under Recommended actions to get started.
- In the text box, describe your idea for the presentation with just a few keywords. Whether it’s a summary of a book, a school topic, or a presentation for your product, Canva’s Magic Design has got you covered. Then, click “Generate” to let the AI work its magic.
- Sit back and relax while the tool creates slides with content based on your idea. Canva will generate a LOT of choices for you. Pick the best that fit your ideal design. If satisfied with the result, click on the template that you like and press “Create my presentation.” You can click on the “Start Again” button if none of the slides satisfy you.
- Customize the slides. Whether you want to add more slides, add more information or delete some, you have the freedom to make your presentation better.
- When you’re happy with your presentation, click “Share” to wrap things up. You can download your work or share them on social media.
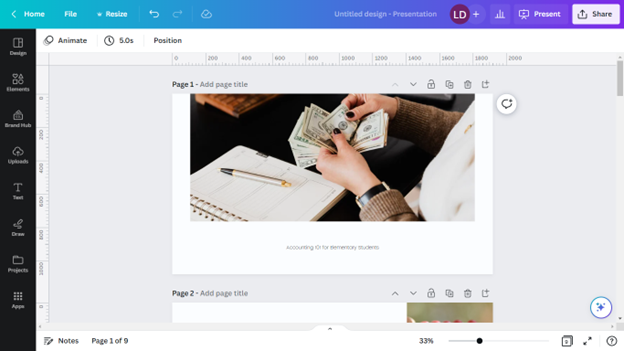
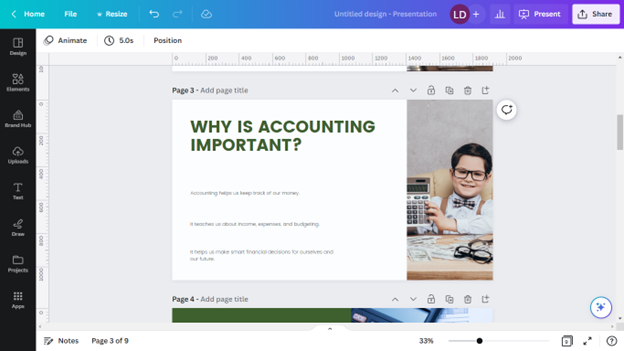
We have included in this blog sample screenshots of the presentation that we made using Canva’s Magic Design. The prompt that we used is, “Accounting 101 for elementary students.”
The Magic Write
Are you tired of staring at a blank page or are you struggling to come up with the perfect words? Or maybe you’re swamped with work and need to whip up a document quickly. Whatever the case may be, Canva’s Magic Write feature is here to help! Gone are the days of writer’s block and endless hours spent trying to craft the perfect sentence. With the power of artificial intelligence, you can generate text in a snap.
Here’s how to use Canva’s Magic Write:
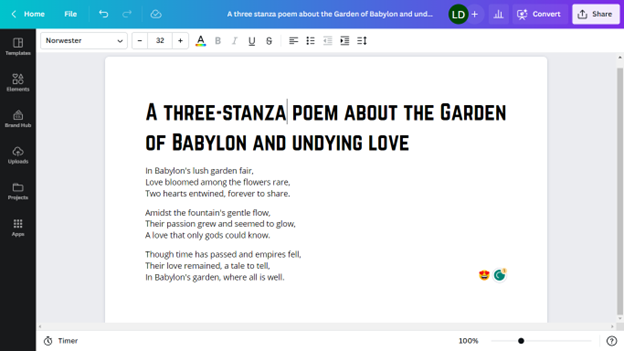
Here is a fantastic example that we generated using the Magic Write. We asked it to produce a poem with three stanzas about the Garden of Babylon and undying love. The result was beyond amazing!
- Head to Canva’s website and click “Create a design”. From there, select “Docs” to open the editor.
- Add a text box to your document by clicking the “+” icon. Note: The Magic Write is also accessible to other types of designs in Canva, the only difference is you will be opening it through the Canva Assistant button.
- Among the list of options, select “Magic Write”. It’s like having a writing assistant at your fingertips!
- Type in a prompt or a brief description of the text you want to generate in the text box. Whether you’re looking to write a blog post about travel tips, a summary of a book, or even a catchy headline, Canva’s Magic Write can handle it.
- Hit “Enter” and let the magic happen! Within seconds, you’ll have well-crafted text that’s ready to use. If you’re looking for inspiration, you can also click on “Try an example” to see some sample prompts and results.
- Once the text is generated, you can easily edit and customize it to fit your needs. Change the tone, tweak the language, or add your own personal flair to make it your own.
The Magic Eraser
The Magic Eraser
Looking to edit your photos but feeling overwhelmed by complicated tools? Canva has you covered with their Magic Eraser feature! Say goodbye to unwanted objects and people in your photos with just one click.
Here is How it works:
- Begin by accessing Canva’s photo editor by selecting “Create a design” and then “Import file” to upload the photo that you will edit. This will open up a world of endless possibilities for editing your photos.
- Once you have uploaded your image to Canva, click on the “Effects” tab located on the left-hand side of the editor. From there, you can select the “Magic Eraser” tool, which will allow you to easily remove unwanted objects or people from your photo with just one click.
- Customize your brush size by adjusting the slider on the bottom left corner of the screen. This will allow you to precisely target the areas of the photo that you want to erase.
- Carefully brush over the objects or people that you want to remove from your photo. As you do so, you’ll notice that Canva’s powerful artificial intelligence will automatically detect the object and remove it from your image with just one click.
- Once you have finished erasing unwanted elements from your photo, click on “Reset Erasings” to undo your edits or click the back arrow beside Magic Eraser from the side panel to go back to editing your design.
- When you’re satisfied with the final result, download your photo by clicking on the “Share” button at the top right corner of the screen and choose “Download”. You can choose from a variety of formats, including JPG, PNG, PDF, and GIF, so you can easily share your edited photo on social media or use it for personal or professional projects.
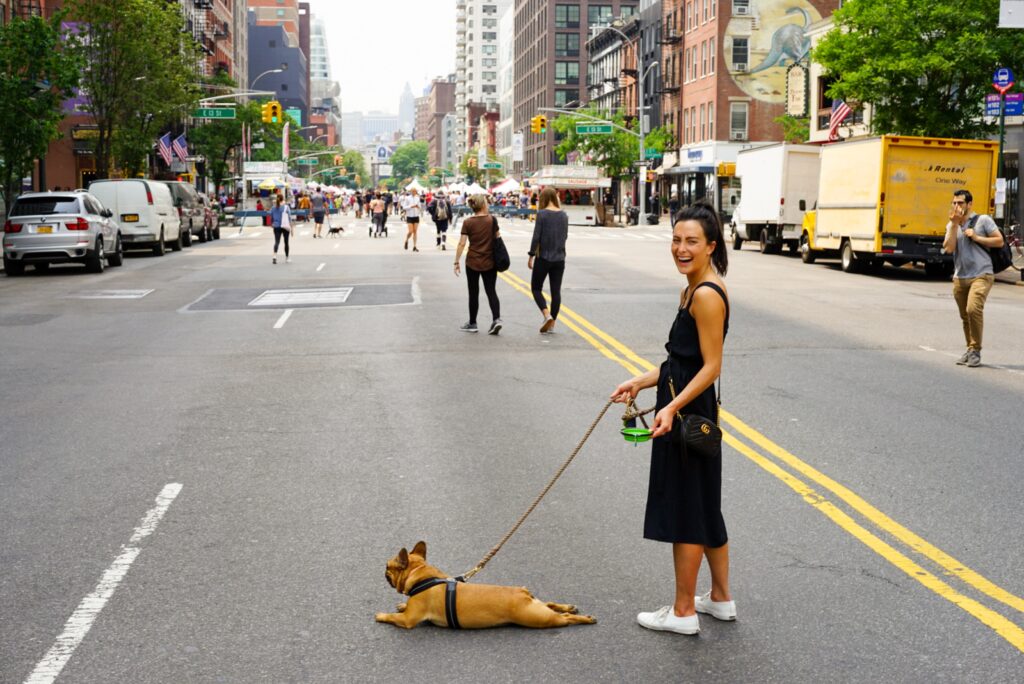
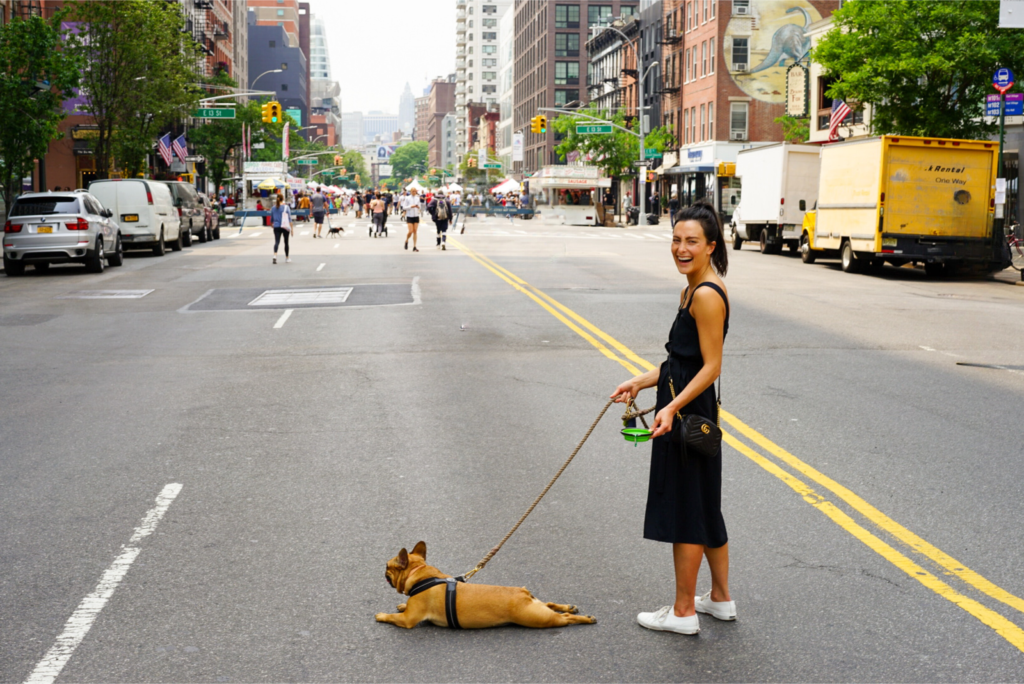
Below is a sample photo where we used the Magic Eraser. We remove the man and two women near the subject of the photo. It took us more than three strokes of the eraser to remove them completely. Brushing the images is not hard, so do not get disappointed when your desired result did not happen on the first try, just brush the image again and you will definitely get there.
READ: Make the Way you Work with PDF Efficient: Introducing ChatPDF
READ: Learn Anything in Seconds: Introducing Learn.xyz’s generative AI-powered learning community!