
Introduction
Are you ready to take your videos to the next level? If you want to make your content more accessible and reach a wider audience, adding closed captions is an essential step. Not only do they benefit people who are deaf or hard of hearing, but they can also be translated into different languages.
In this step-by-step tutorial, we’ll show you how to add closed captions to your videos in Camtasia.
Step 1: Preparing Your Transcript
First things first, you’ll need a transcript of the audio. If you don’t already have one, don’t worry—there are plenty of transcription services available to help you out. Once you have your transcript in hand, you can easily format it into a plain text file, ready for importing into Camtasia.
Step 2: Importing the Transcript into Camtasia
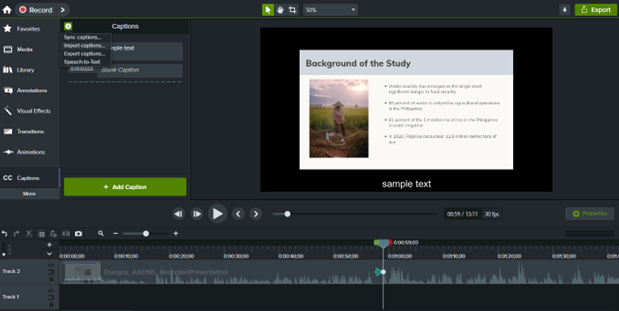
The process of importing your transcript into Camtasia is quick and easy. Simply navigate to the “More” tab and click on the “CC” button. From there, select “Import captions…” and choose the plain text file that contains your transcript. Camtasia will work its magic and automatically create a new caption track in your timeline, dividing your transcript into separate captions, one for each line of text. If you prefer, you can also choose to manually type your captions. No matter which method you choose, Camtasia has made it a a breeze for you to add captions.
Step 3: Syncing the Captions with the Audio
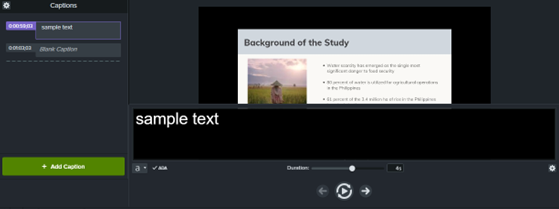
Now that you’ve imported your transcript and created a new caption track in Camtasia, it’s time to sync those captions with the audio in your video. Don’t worry—it’s easy! Simply click on the first caption in the timeline and use the “Start Time” and “Duration” settings to set the timing for the caption. Repeat this process for each caption in your transcript. Make sure to adjust the timing so that each caption appears on-screen at the same time as the corresponding audio. With just a few clicks, you’ll have perfectly synced captions that enhance the viewing experience for your audience.
Step 4: Formatting the Captions
Now that your captions are perfectly synced with the audio, it’s time to make them visually appealing and match the style of your video. To do this, simply select a caption in the timeline and use the “Font”, “Size”, “Color”, and “Background” settings to change the appearance of the caption. Repeat this process for each caption in your transcript, making sure to adjust the formatting as needed.

Step 5: Previewing the Captions
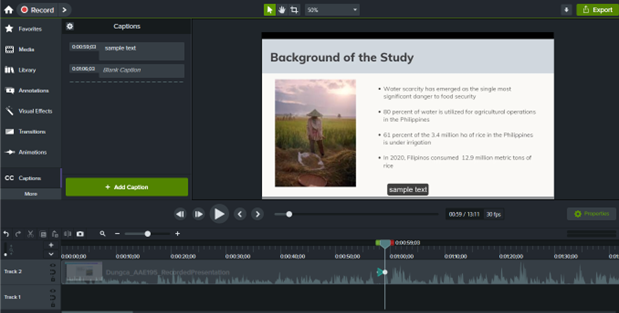
Don’t forget to preview your captions before publishing! This is an important step to ensure that your captions look and sound the way you want them to. Simply click the play button in the timeline and watch your video with the captions turned on. If you need to make any changes, just go back to the appropriate step and tweak the timing or formatting until you’re happy with the results. It’s always better to catch any issues before you share your video with the world.
Final thoughts
Adding closed captions to your videos in Camtasia is a simple and straightforward process. By following the steps outlined in this tutorial, you’ll be able to add closed captions to your videos in no time, making your videos more accessible and reaching a wider audience.
READ: Amplifying Your Remote Presentations: The Camtasia Advantage